This article walks you through how to connect two projectors to one laptop or other PC.
Connecting two projectors together is typically done to create a larger image, extend the display across both projectors, or create a redundant backup in case one projector fails.
Connecting Two Projectors Together
There are a few methods to achieve this, depending on the projectors’ capabilities and the desired outcome.
Here are three common methods:
Using a Video Splitter or Distribution Amplifier
This method involves connecting the video output from a single source to a video splitter, which then sends the same video signal to both projectors.
- Purchase a video splitter or distribution amplifier compatible with your projectors’ input and your video source’s output (HDMI, VGA, DVI, etc.).
- Connect your video source (e.g., laptop, Blu-ray player, media player) to the input of the video splitter.
- Connect the outputs of the video splitter to the video inputs of each projector using appropriate cables.
- Turn on the projectors and the video source. Both projectors should display the same content.
Using a Multi-Output Graphics Card
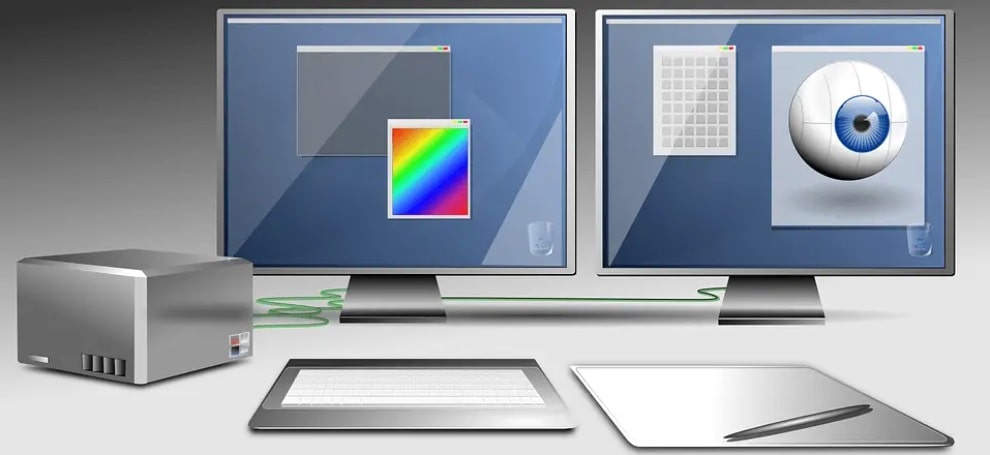
This method involves using a computer with a multi-output graphics card, which can send separate video signals to each projector.
- Ensure that your computer has a graphics card with multiple video outputs (HDMI, VGA, DVI, DisplayPort, etc.).
- Connect each projector to a separate video output on your computer using appropriate cables.
- Turn on the projectors and the computer.
- Configure the display settings on your computer to extend the display across both projectors, duplicate the display, or set one projector as the primary display and the other as a backup.
Using Edge Blending or Video Mapping Software
This method is more advanced and suitable for creating large, seamless images or complex projection setups. It involves using specialized software to blend the edges of the projected images and control the output sent to each projector.
- Purchase or download edge blending or video mapping software compatible with your projectors and computer (e.g., Resolume Arena, MadMapper, Watchout, etc.).
- Connect your projectors to your computer, either through a multi-output graphics card or a combination of video splitters and graphics cards.
- Turn on the projectors and the computer.
- Configure the display settings on your computer to extend the display across both projectors.
- Open the edge blending or video mapping software and set up the projectors according to the software’s instructions. This usually involves adjusting the overlap, blending the edges, and correcting for geometric distortions or color differences.
Note: The specific steps and requirements may vary depending on the projectors, video sources, and software used. Always refer to the user manuals and software documentation for detailed instructions and compatibility information.
How do I connect two projectors together?
Connecting your PC or laptop to two projectors has many uses – exhibitions, displays, parties, and especially presentations in a large room or hall with a big audience.
| Method | Description | Key Steps |
|---|---|---|
| Using a Video Splitter or Distribution Amplifier | Connect the video output from a single source to a video splitter, which then sends the same video signal to both projectors. |
|
| Using a Multi-Output Graphics Card | Use a computer with a multi-output graphics card, which can send separate video signals to each projector. |
|
| Using Edge Blending or Video Mapping Software | Create large, seamless images or complex projection setups by blending the edges of the projected images and controlling the output sent to each projector with specialized software. |
|
To do this, you can use a splitter cable or multi-outlet adapter with three cables (one from the computer to the multi-output box.
All of these products are relatively cheap and easy to buy but you must get the right length cables so that the cable works at the desired distance between the source and the projectors.
If your cable lengths are very long, it’s worthwhile spending a little more and going for higher quality cables, to prevent signal loss or interference causing you hassles.
The cable-type you need will depend on your content, the type of computer and projector model and you must get the latest up to date cable versions.
A PowerPoint about flower arranging won’t put much pressure on your cables but other modern content will. if you are planning to show 4K resolution (3840×2160 for TV content or 4096×2160 for a film), higher frame rates (anything above 60 Hertz) or High Dynamic Range (HDR10, Dolby or HLG) content. The default is to use type ‘A’ HDMI cables at version 2.1 HDMI specification.
If you plan to show gaming content, then you will probably need Ultra High-Speed HDMI Cable (48G Cable) which can show 4K or 5K, at 120 Hertz. Using older or lower spec HDMI cables with either end up with no signal or a poor-looking result. How to sync 2 projectors is not just about the projectors!
We prefer 3 HDMI 2.1 cables and a multi-outlet HDMI adapter as it is more reliable gives more flexibility in choosing cables, allows longer cable runs (and of course allows more than two repeat projectors).
Once you have the right 3 cables and multi-outlet adapter, connect the single-signal original cable to your laptop’s video output HDMI port. Next, connect that cable to the input socket on the multi-outlet HDMI adapter.
Then connect your two repeater cables to the two outlet ports on the multi-outlet adapter. Each is then connected to the video input port on your projectors.
Video quality should be the same when using two projectors
If for any reason either the computer or projectors don’t support HDMI (unlikely but possible if one is old) then you can use a multi-outlet adapter that supports other connection types, like SVGA, DVI, etc. but this should be avoided if you have modern content, if at all possible.
Finally, if you have long cable runs, or are planning to use more than 2 projectors, it’s well worth considering a multi-outlet adapter that includes HDMI signal boosting which will amplify the original signal and keep quality up.
So, connecting two projectors is not difficult at all, if you follow these simple suggestions.

Ray originally hails from Windsor, Ontario but moved to Flagstaff, Arizona after qualifying for a BA in English. He is a passionate collector of old Vinyl and a Movie Buff, having worked in a vintage record and movie memorabilia store, while at college. He is a keen movie-maker today, helping to shoot and edit community arts projects.
Ray loved the Canadian summers around the great lakes, which he spent sailing, water-skiing and windsurfing but hates Ontario winters. He says Arizona is great year-round for his other passion, which is motorcycling.
You will notice many flashes of humour in Ray’s reviewing, he can be irreverent but is always respectful and constructive.


![Best Projector for Bedroom [TOP 3]](https://itechcluster.com/wp-content/uploads/best-projector-for-bedroom.png)


