Projector filters are necessary to protect the projector lens from dust and debris that can cause damage over time. However, how often should you clean your projector filter? This article addresses how to clean a projector filter, how often it should be cleaned, how to do so without damaging the filter or other components in your projector system.
- About the projector filter
- How to Clean a Projector Filter: Tips and Tricks
- Before you clean your projector filter, make sure that it is cool to the touch
- Distilled water and rubbing alcohol to Clean a Projector Filter
- Advantages of using a Projector Filter
- How to replace the projector filter with a new one?
- Conclusion
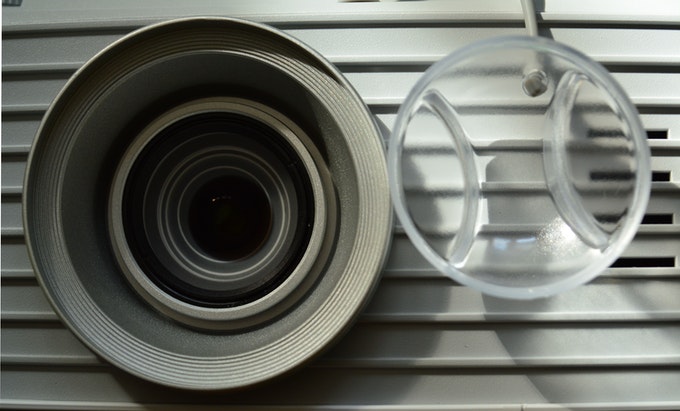
About the projector filter
Projector filters are designed to reduce the amount of dust particles in the air and protect the lens inside your projector. They are similar to how windshield wipers protect a car’s windscreen. This filter also helps to improve the image quality of your projector by removing dust that may otherwise scatter on it, reducing contrast and creating distracting halos around images in motion or when there is backlight through windows etc.
How to Clean a Projector Filter: Tips and Tricks
We have an extensive guide in how best to effectively remove dust from the screen of your favorite home theater or business projection system, but it seems that many people do not really know how important the filters are for projecting images! For this reason, we have decided to talk about how you can get rid of dust on air filters as well as how often they should be cleaned so you avoid any damage due to lack of maintenance.
Before you clean your projector filter, make sure that it is cool to the touch
The best way to do this is by unplugging it and letting it cool down for at least an hour before cleaning. If you don’t, there’s a chance that the filter will crack or warp as temperatures fluctuate during your clean up. Depending on how dirty your projector filter is (and how well ventilated your room/area is), you might want to leave it plugged in for a few days so that the air can circulate around it.
Distilled water and rubbing alcohol to Clean a Projector Filter
- Make a solution of distilled water and rubbing alcohol (50/50 ratio) in a spray bottle.
- Spray the filter with the solution, and then use a clean cloth to wipe it off.
- Put on some rubber gloves and use this solution to wipe off dust from the filter’s surface.
- Throw away any pieces of lint or debris that are stuck on the filter with a pair of tweezers.
- Rinse off any remaining dirt with another round of the cleaning solution.
- Finish by wiping down your projector screen with a soft cloth to remove fingerprints and other smudges
- If there is still some dirt on the filter, you can try using a projector filter brush to clean it.
- If your projector doesn’t have an automatic sensor, you can manually switch off the light using a remote control or power button before cleaning the filter. Once the dust is removed from the filter, turn on your projectors again and resume working with it!
Advantages of using a Projector Filter
Projector filters have many advantages. They keep the projector from overheating, they protect the optics inside the projector, and they improve image quality. By keeping the projector cool, a filter can help extend its life. The optics are protected by the filter from dust, dirt, and other debris that could potentially cause damage. And finally, a good filter can improve image quality by blocking out harmful light wavelengths and preventing glare.
All of these benefits make it important to keep your projector’s filter clean. A dirty or clogged filter will reduce the performance of your projector and may even cause it to fail completely.
How to replace the projector filter with a new one?
After purchasing a new projector filter, you will need to remove the old one from your projector. To do this:
- Locate the screws that hold the lens cover in place on the front of the projector. There are usually between two and four screws securing it in place.
- Once the screws have been removed, gently lift up on the lens cover and it should come off easily. If it is sticking, make sure all of the screws have been removed and then try again.
- Now that the lens cover has been removed, you will be able to see the projector filter (it will be located right in front of where the lens was).
- Remove the projector filter by carefully pulling it away from the front of your projector.
- Place your new filter in its rightful spot.
You may need to attach some small screws back into their proper places if they were removed during the process, but otherwise, you should now be able to reattach the lens cover onto your projector and continue using it how you normally would!
Conclusion
We hope you found this guide to be helpful! If you have any questions or comments, please feel free to share them in the comments section below. And don’t forget to share this post with your friends and family members who may also find it useful. Thanks for reading!